
Here’s another way to preserve the jalapeños that are taking over my rooftop. If you don’t have this problem, its worth buying a whole bunch of hot peppers so you can make your own spicy sauce, which is much better than anything you can buy in the store. I only slightly modified yet another incredible recipe from Karen Solomon’s Jam It, Pickle It, Cure It.
This recipe makes about 3 cups and the sauce will last in the fridge for 6 months.
Warning: Wear gloves and work in a well-ventilated area when working with jalapeños.
Ingredients:
20-25 jalapeño peppers
2 large cloves of garlic, peeled
1.5 T kosher salt
1 cup distilled white vinegar
2 T sugar
Directions:
- Wash and dry the peppers and cut off the stems. Slice them in half lengthwise. Broil, outside skin near flame, until black and charred. Check the every few minutes as once they start charring, they turn black pretty quick.
- In a food processor or blender, puree the garlic until minced. Add the peppers, salt, vinegar, and sugar and puree for about 3 minutes. If you have a high power blender, just run all the ingredients together for 1 minute.
- Transfer to a glass jar and refrigerate.
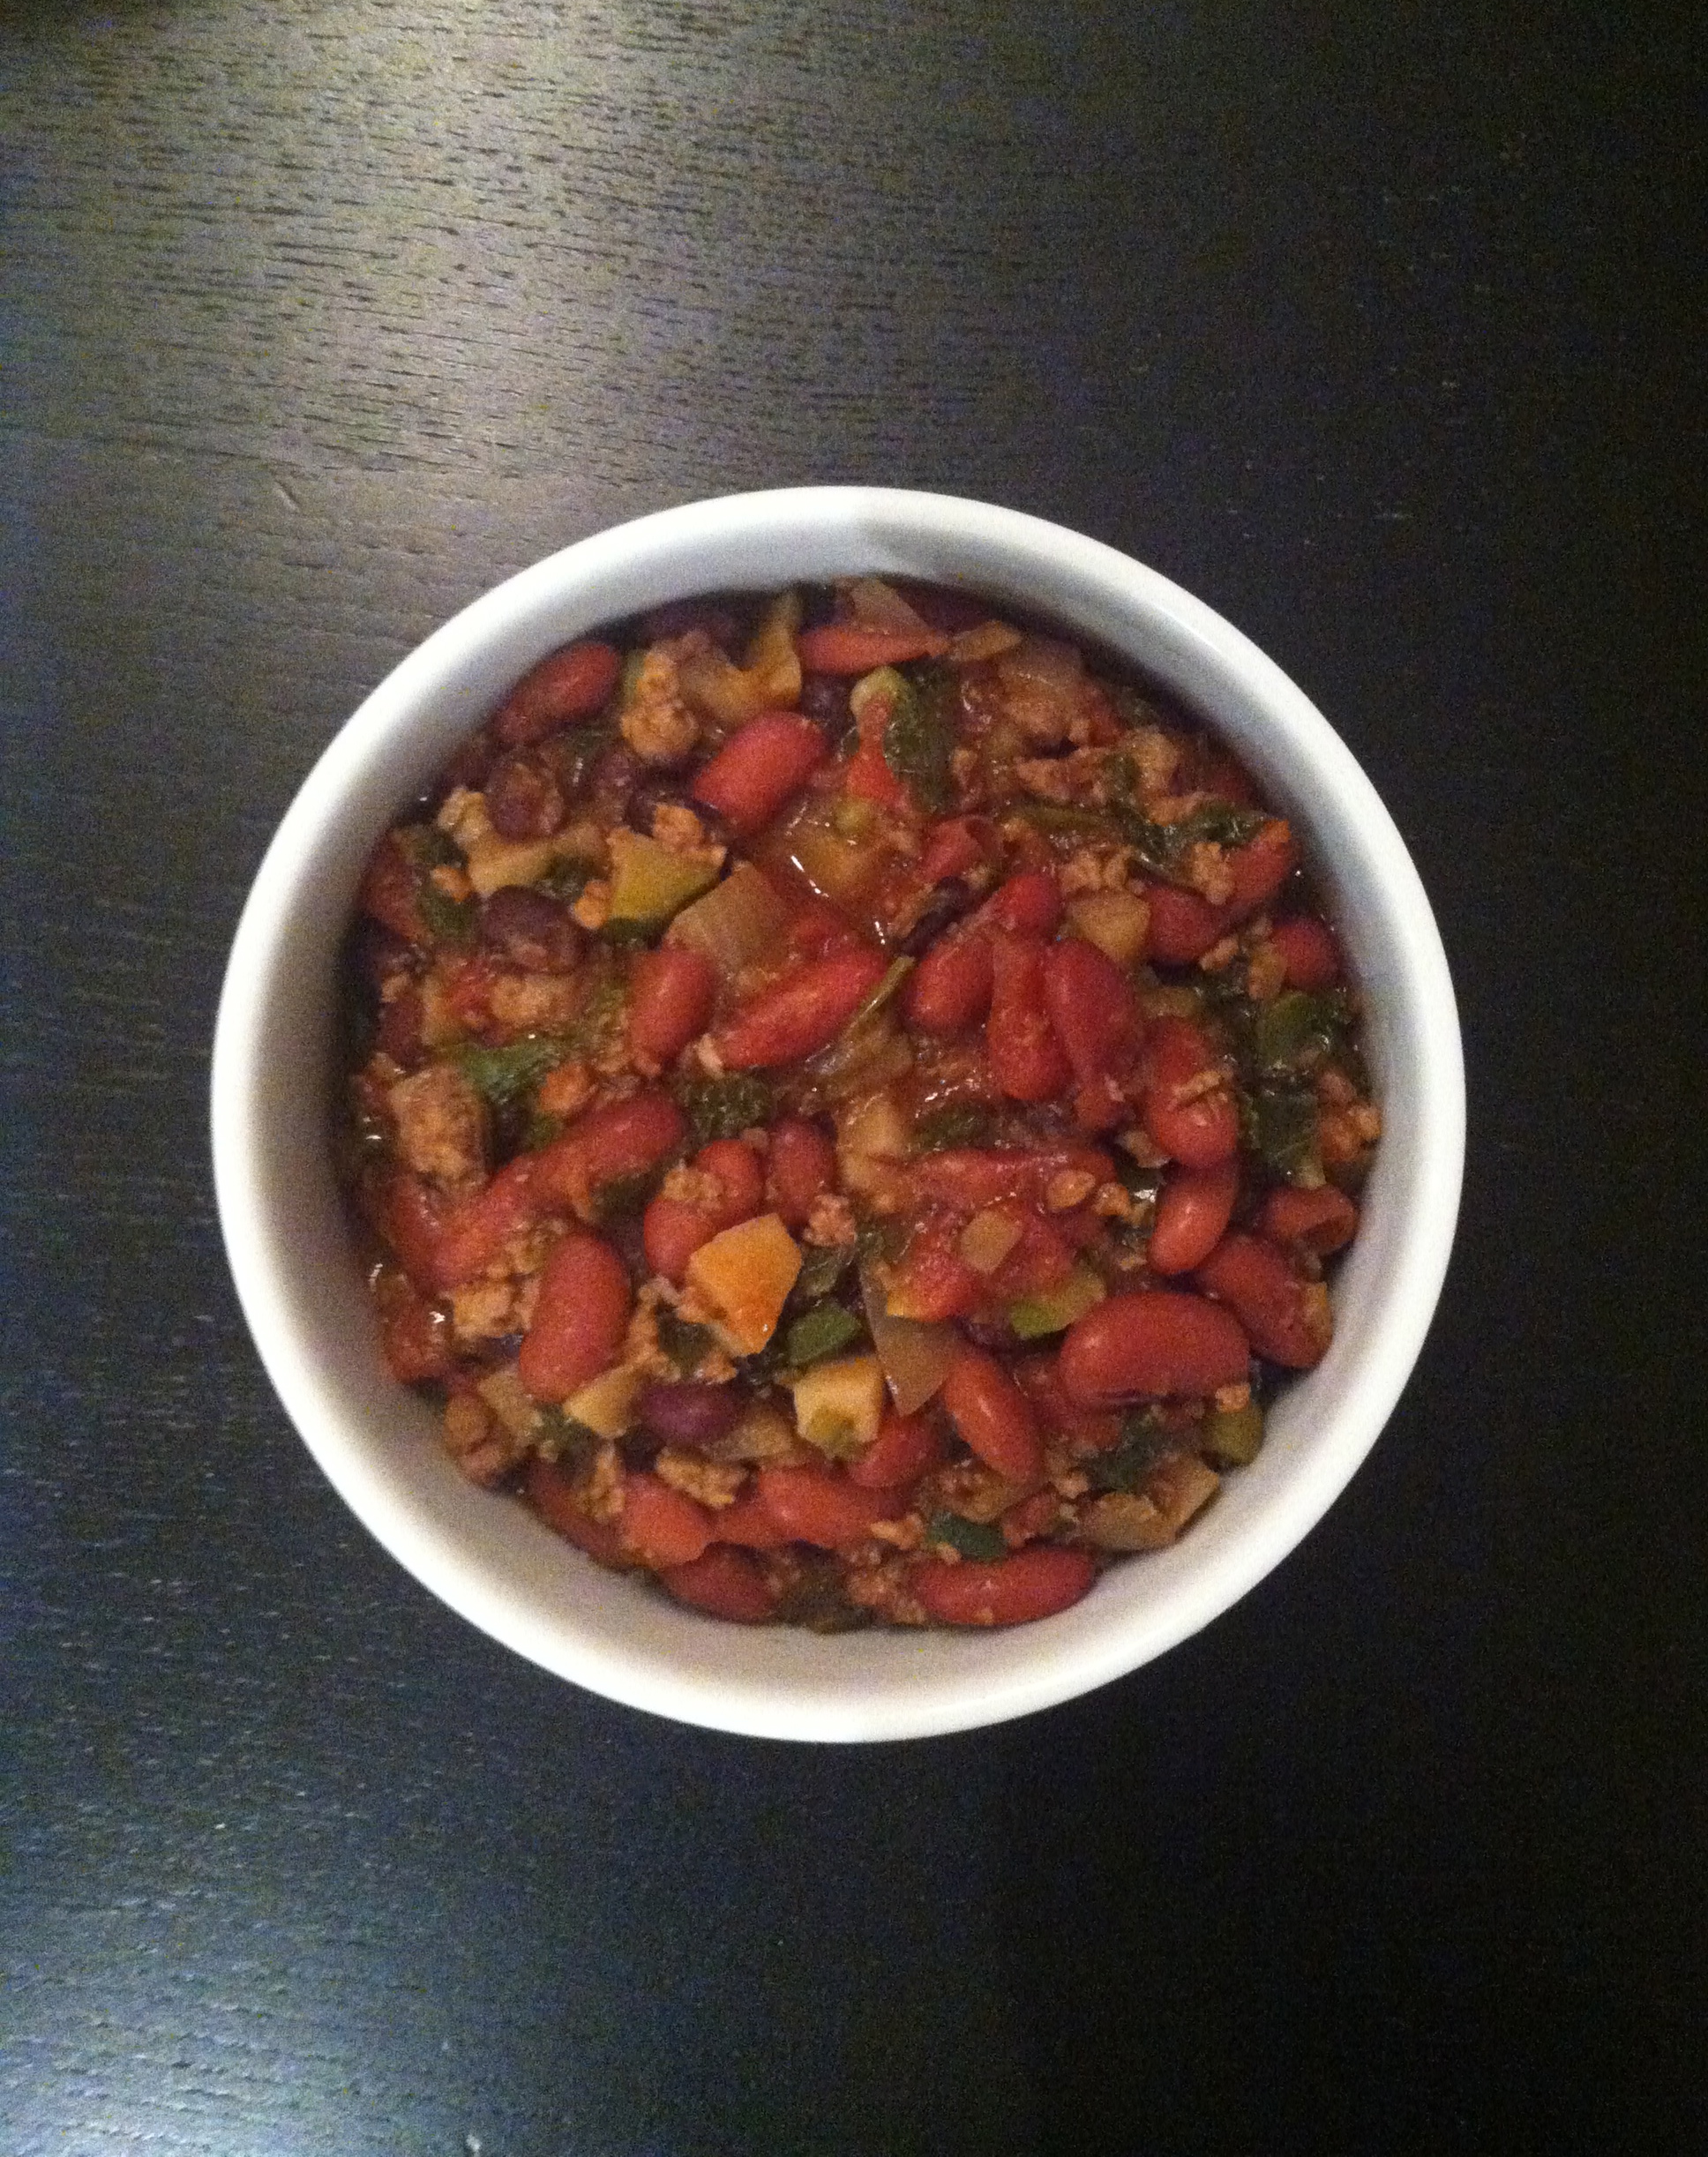
This recipe comes from Crazy Sexy Kitchen, the creative vegetarian cookbook by Kris Carr and Chad Sarno. Not only is this chili delicious and filled with vegetables, but it can be made in under 45 minutes from start to finish. Serve with your favorite chips. We tried Lundberg’s rice chips–Fiesta Lime flavor. We crushed them up and sprinkled them on top for added crunch and flavor.
Ingredients:
- 1 1/2 Tbs. cumin seeds
- 2 Tbs. olive oil
- 1 white onion, diced
- 3 garlic cloves, minced
- 1 jalapeño chile, finely diced (omit seeds or use less jalapeño for a milder chili)
- 2 Tbs. chili powder
- 1 1/2 cups ground seitan, crumbled tempeh, or finely diced mushrooms (I used frozen Quorn crumbles)
- 1 zucchini, diced (I used 2 small zucchini)
- 1/2 cup diced potato
- 1 15-oz. cans of black beans, rinsed (The recipe called for 2 black bean and one kidney, but I reversed it because that’s what I had on hand)
- 2 15-oz. can of kidney beans, rinsed
- 1 14-oz. can of crushed tomatoes, such as San Marzano
- 2 Tbs. maple syrup
- 1 tsp. sea salt
- 1/2 bunch of fresh cilantro, plus more for garnish (optional)
- 1 cup kale, chopped
- Diced avocado, for garnish, optional
Directions:
1. Toast cumin seeds in dry soup pot over medium heat for 2 minutes or until aromatic.
2. Add oil, onion, garlic, and jalapeño. Stir until onion is golden and translucent. Add chili powder, seitan, zucchini, and potato, and stir well. Sauté 3 to 4 minutes, stirring constantly. Add black beans, kidney beans, tomatoes, 2 cups water, maple syrup, sea salt, and cilantro. Cover pot, reduce heat to low, and cook 20 to 25 minutes, or until potatoes are tender.
3. Remove from heat; stir in kale. Garnish with diced avocado and sprigs of fresh cilantro, if using.

Cue the old school Zelda theme song, because I’m on a quest: make a canning salsa that is spicy enough for my husband to enjoy the heat all winter long. This recipe came from the Food Channel. The result is a salsa with a decent amount of spice (but my quest is not over yet). I know that I can just add some habaneros for some serious heat, and that would be great for a salsa to stick in the fridge and eat within the week. However, whenever I want to put tomatoes in the cabinet for a year, I am wary of playing with the ingredients. That’s because I know that it has to have the correct level of acidity, etc. in order to avoid spoiling the food. Does anyone out there know of a tested recipe for a spicy canning tomato salsa? I think there are a still a few weeks left of tomato season, and I would like to give it one more try.
That being said, this salsa is fairly easy and pretty delicious. Adjust the number of jalapeños, or take out some seeds if that’s your preference. This recipe could also use a bit more salt, but I would taste it first and decide what you want to do. These tomatoes came from a farm stand in Amagansett, and the jalapeños came from the rooftop garden.
One more note: My makeshift canner holds 4 pint jars at a time. I only processed 4 jars and put the other two directly in the fridge. Then when I noticed how the salsa wasn’t salty, I started to doubt that it would stay good in the cabinet. The next day, I noticed some air bubbles in a few of the jars, so I decided put three more in the fridge. I didn’t want to take any chances. I only have one jar left in the cabinet. I will open that one in a few months and let you know if it worked.
For more information about canning, you can check out my other experiments:
Peach Salsa (this one has details about how to can)
Ingredients:
- 6 pounds of tomatoes
- 10 jalapeños, chopped (seeds included)
- 1/3 cup chopped fresh cilantro
- 9 cloves of garlic, chopped
- 1/3 cup lime juice
- 1 1/2 teaspoon salt
- 1 1/2 teaspoon cumin
- 3 onions (preferably 1 white, 1 yellow, 1 red)
- 6 pint jars (either small mouth or wide mouth is fine)
- Lids and rings
- Water bath with rack
- Sterilize jars and seals. (I did this by putting them in my dishwasher which gets super hot. Some dishwashers have a sterilize cycle, and that would work, too.)
- Start heating up your water for your water bath, if canning
- Put clean tomatoes in boiling water for 30-45 seconds, and then plunge them into ice water. The tomatoes will be easy to peel as a result.
- Peel tomatoes and cut out cores or bad spots. Chop the tomatoes to desired size (they will cook down so leave them slightly larger than you want them to be in the salsa).
- Mix tomatoes, garlic, lime juice, salt, and cumin and bring to a boil.
- Add onion, peppers, and cilantro. Bring to a boil and then simmer for 7-10 minutes.
- Remove 1 cup of liquid (to thicken the salsa).
- Put salsa in sterilized jars leaving 1/2 inch of headroom. (Stop here and put lids on if you are not canning)
- I did not do this, but I will next time: Use a chopstick or knife to slide around the jar to get rid of air bubbles.
- Wipe the rim of the jar, place sterilized seal on jar, and tighten the ring.
- Place jars in water bath for 15 minutes (time depends on altitude – more time for higher altitudes).
- Remove jars and let stand for at least 24 hours. Remove rings (optional) and store. If the jar did not seal, place it in refrigerator and use within a week.

The roof is exploding with spicy peppers. My tomatoes are not doing as well, so I have only been able to make small batches of salsa. What to do with excess jalapeños? Poppers! Thanks to my friend BC for introducing me to the site Skinnytaste, where I got this recipe. Skinnytaste has a variety of light recipes, beautiful step-by-step pictures, and clear directions. Of course, I have this bad habit of taking a low fat recipe and adding some more fat into it. However, the only real difference between her recipe and mine is that I used regular rather than light cream cheese. These poppers would make a great appetizer for a party because you can prepare them in advance.
Ingredients:
- 12 jalapeño peppers, sliced in half lengthwise
- 4.5 oz cream cheese
- 5 medium scallions, green part only, sliced
- 2 oz shredded low fat sharp cheddar (I used Cabot 50%)
- 1/2 cup egg beaters or egg whites, beaten (I used 4 egg whites)
- 3/4 cup panko
crumbs
- 1/8 tsp paprika
- 1/8 tsp garlic powder
- 1/8 tsp chili powder
- salt and fresh pepper
- spray oil
Directions:
- Preheat oven to 350°. Wearing rubber gloves, cut peppers in half lengthwise and scoop out the seeds and membrane.
- Combine cream cheese, cheddar and scallions in a medium bowl.
- Combine panko, paprika, chili powder, garlic powder, salt and pepper in another bowl.
- Fill peppers with cheese filling with a small spoon or spatula.
- Dip peppers in egg beaters.
- Place pepper in panko mixture, using a spoon to make sure all the seasoning doesn’t fall to the bottom of the bowl.
- Spray a baking pan with oil spray. I lined my pan with parchment for easier cleanup. Lightly spray the peppers with a little more oil spray.
- Bake in the oven for about 20-25 minutes, until golden and cheese oozes out.
- Remove from oven and serve immediately. Serve hot.


Here is Part 2 of my preserving projects from yesterday. This jam is an addicting combination of spicy and sweet. We had it with crackers and cheese last night, and a lot of people recommend serving it with cream cheese. Do you have any other good ways to serve jalapeño jam?
This recipe came from the Pick Your Own site. It is such a detailed recipe, including the canning method, that I am not going to attempt to repost it. Just check out the link. It’s an extensive site if you are interested in other preserving projects.
A few notes about my own experience with this recipe: I only had 12 peppers from the garden ready to go, so I halved the recipe. Also, I did NOT use food coloring, but I love the amber color that naturally came through. Finally, I did not use gloves. Big mistake. Big. Huge. Putting my contact lenses in this morning was torture. I recommend gloves when dealing with this many hot peppers.

Here is a fresh salsa recipe starring ingredients from my rooftop garden! I used Better Bush tomatoes (Bonnie) which are good for containers. The jalapeños that we’ve been growing are varying in their heat factor. My husband has the job of tasting the spiciest part of the jalapeño: I cut off a small slice closest to the stem and keep the seeds in it. That’s the part he tastes. Then, he rates them on a scale of 1-10; 10 being a very spicy jalapeño, 1 being no spice. This happens before I add the pepper to recipes so I can decide how much to add. This one was a 4. I still have not figured out why some are hotter than others, but I’m glad to have a spice tester nearby.
Right now, there are a bunch of green tomatoes and baby jalapeños on the plants, so there is definitely going to be more experiments with salsa in a few weeks! Do you have a favorite salsa recipe? Maybe you like to add peaches, corn, or black beans to yours? Please send it along!
Ingredients:
- 2 tomatoes, chopped
- 1 jalapeño pepper (remove seeds if you want less heat), minced
- 1 clove garlic, minced
- 1-2 tablespoons onion, minced (red or white)
- 2 tablespoons cilantro, minced
- juice of 1/2 lime
Directions:
Combine all ingredients. Refrigerate for a few hours before serving.

I have a few strong beliefs about Indiana sweet corn:
1. Indiana Sweet Corn is the Great Equalizer
Horace Mann said that education is the great equalizer. However, on a muggy summer evening in northern Indiana, when the fireflies light up the sky and the crickets start to play their nightly symphony, corn can certainly level the playing field as well.
My love affair with Indiana sweet corn began soon after my love affair with my husband started. We sat down to a wonderful dinner with his family on a hot Indiana night several years back. This was before we were married. I was just getting to know his family. Of course, I was feeling nervous about eating with the right fork, talking at the right time, and passing my food in the right direction.
When the corn got passed to me (from the left), I gingerly selected an ear, and quietly panicked. How am I supposed to eat this thing? No one was passing the corn holders from left to right. Reluctantly, I began to tackle the corn. It took me way too long to peel the husk off, as I was trying painstakingly hard to remove every single fiber. I delicately began nibbling at my corn, being careful not to get any stray kernels on the corner of my lips or between my teeth. Should I floss mid-meal?! I was about to take a knife to start cutting the kernels off the cob, when I finally looked around me.
I saw everyone else eating corn with gusto! Husks were being nonchalantly tossed to the middle of the table, and ear after ear was being devoured with no utensils or apparent concern for dental floss. Everyone was busy eating their corn type-writer style. It seemed that my future father-in-law had especially mastered this technique. He glanced at me for a moment, and smiled. I picked up my corn with two hands, started chomping away, and smiled back with a corn-toothed grin. It was then I learned the power of corn to bring people together.
2. Indiana Sweet Corn Can Be Eaten Raw
Before I tasted Indiana sweet corn, I used to only eat corn when it was slathered with butter and salt, or hidden under a mound of a mayonnaise/cheese/spices to make Mexican street corn. While I still adore the street corn at one of the numerous street fairs in NYC in the summertime, I enjoy eating Indiana sweet corn just as nature made it. If you’ve never eaten raw corn before, I recommend only doing so if the corn is as fresh as possible. We get our Indiana sweet corn from none other than Sweet Corn Charlie’s farm stand:
http://www.sweetcorncharlie.com/
And a quick quiz, for my fellow city slickers. How many ears of corn grow on a single stalk? (Scroll down to find the answer)
Indiana Sweet Corn Salad
This recipe is from Real Simple magazine
1 cup walnuts
4 cups fresh corn kernels: To cut the kernels off the cob, first cut it in half crosswise. Then, Place one half cut end down on a rimmed baking dish or shallow bowl. The rim will keep the kernels from falling all over the place. Use a sharp knife and cut as much of the kernel off as possible. Avoid cutting too close to the cob, or you will end up with tough pieces.
2 jalapenos, seeded and thinly sliced
2 Tablespoons fresh lime juice
2 tablespoons extra virgin olive oil
salt and pepper
1/2 cup crumbled feta
1. Heat the oven to 400 degrees. Spread the walnuts on a rimmed baking sheet and toast until fragrant, 6 to 8 minutes. Let cool and roughly chop.
In a large bowl, combine the corn, jalapenos, lime juice, oil, walnuts, 1/2 teaspoon salt, 1/4 teaspooon pepper. Sprinkle with feta before serving.
Quiz Answer: One! (sometimes 2)
You can enjoy this corn salad with some beer can chicken. These lovely ladies are organic Amish chicken from northern Indiana.

Beer Can Chicken
